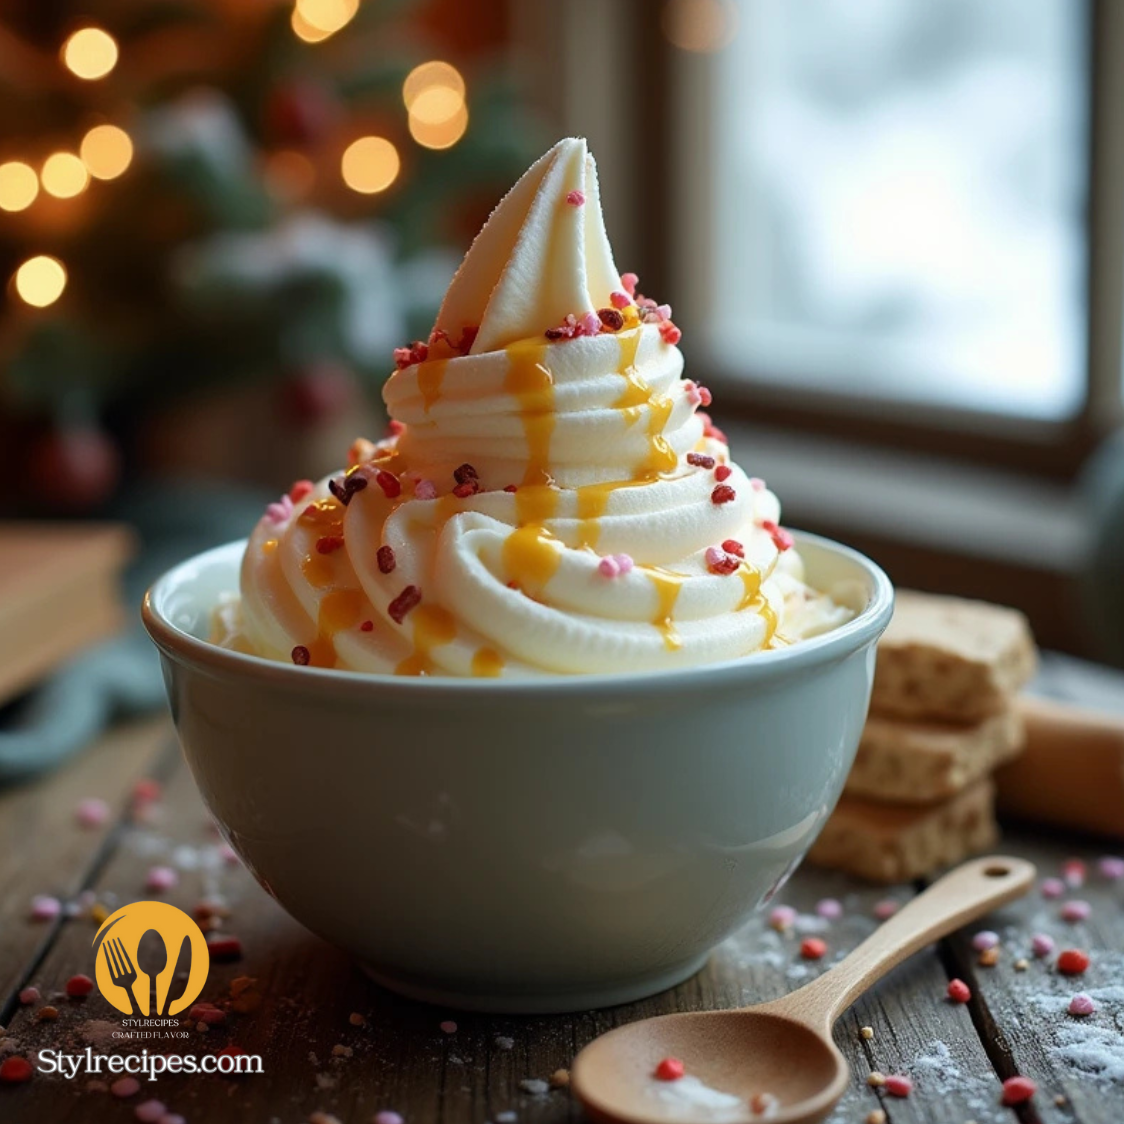
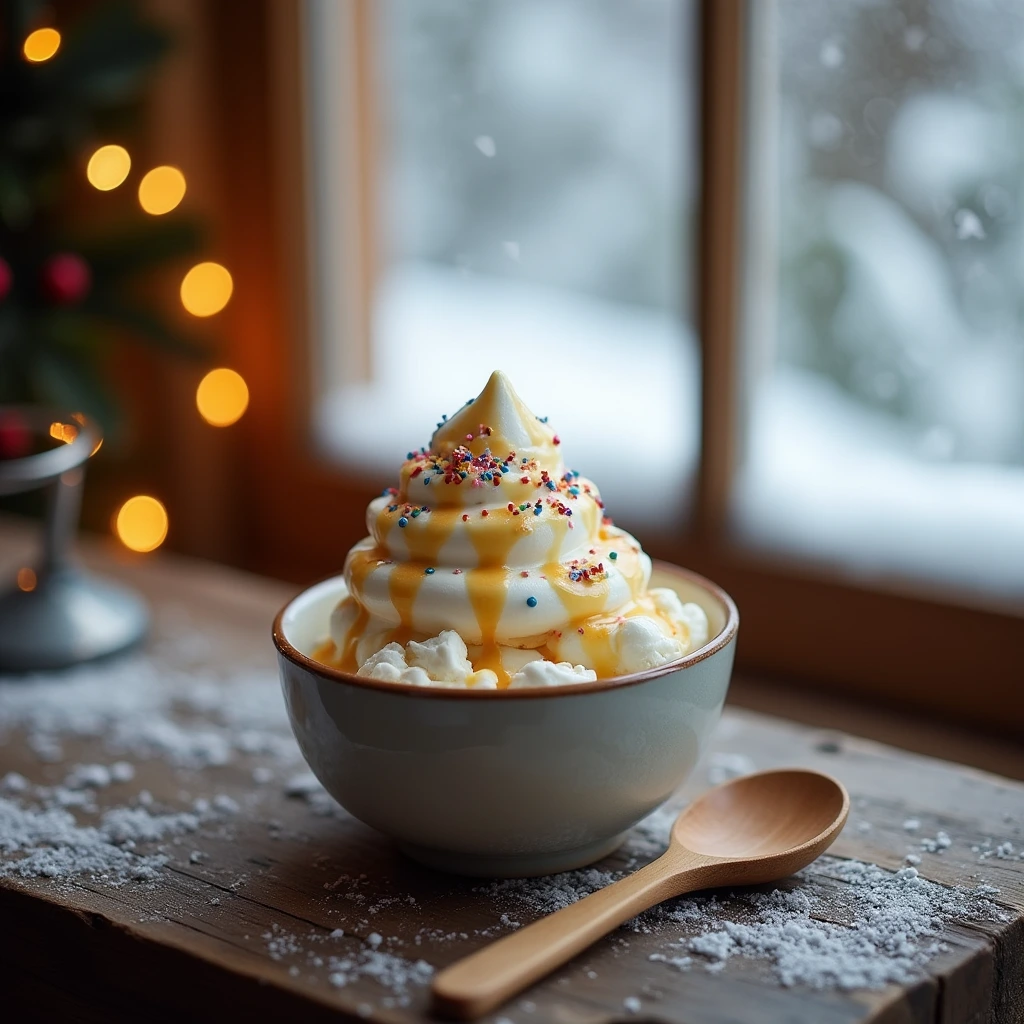
A Simple Guide to Making Tasty Snow Ice Cream at Home
To make snow ice cream, mix 8-10 cups of fresh, clean snow with 1 cup of milk (or cream), ½ cup of sugar, and 1-2 teaspoons of vanilla extract until smooth. Adjust the consistency by adding more snow or milk as needed, then serve immediately. For extra fun, top with sprinkles, chocolate chips, or flavored syrups!
Ever looked outside at freshly fallen snow and thought, Hmm… I could eat that? Well, guess what—you totally can! Snow ice cream is the ultimate winter treat, turning a chilly snowfall into a sweet, creamy delight with just a few simple ingredients. It’s fun, fast, and ridiculously easy to make (seriously, no fancy equipment needed!).
But before you grab a bowl and run outside, there are a few must-know tips to make sure your snow ice cream turns out smooth, flavorful, and safe to eat. From classic vanilla to chocolatey twists and fruity flavors, we’ve got everything you need to whip up the best batch ever. Keep reading, because you’re about to turn winter magic into a dessert masterpiece!
What Is Snow Ice Cream?
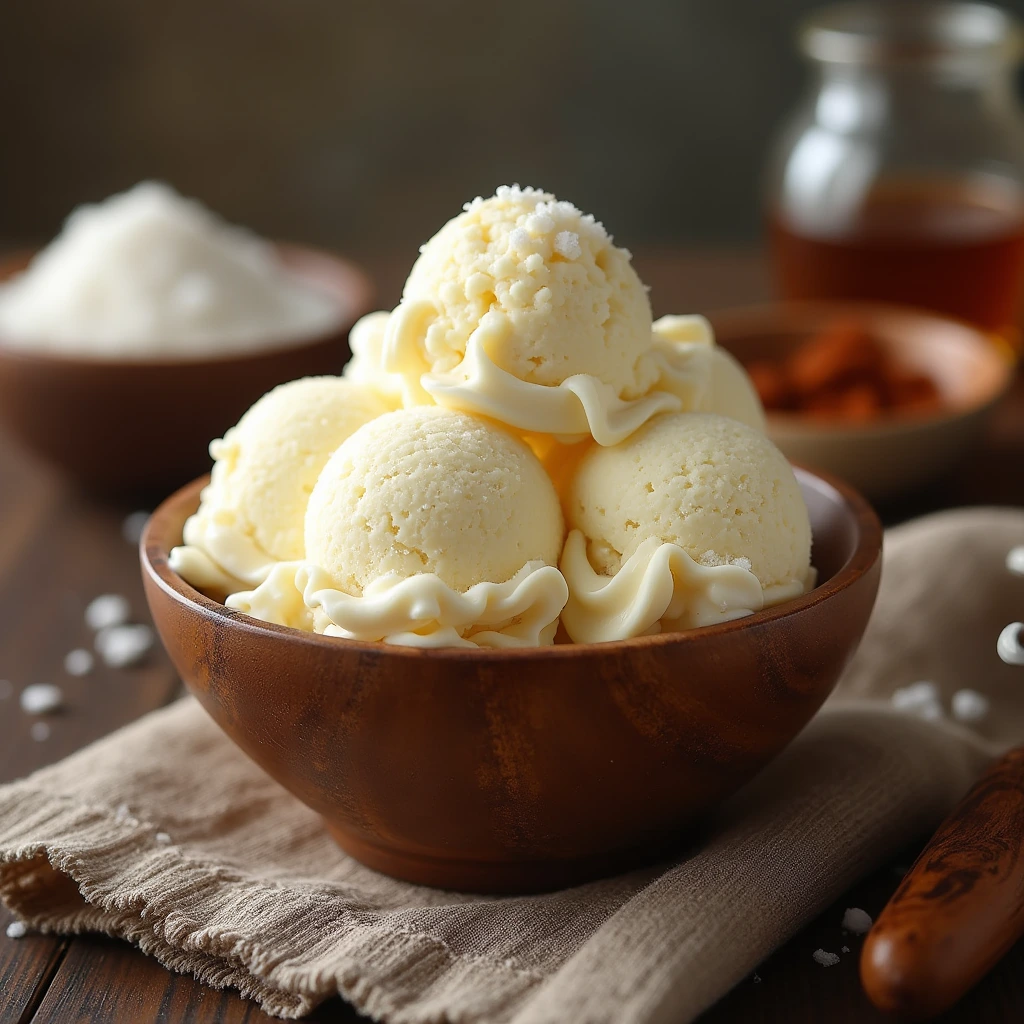
Snow ice cream is winter magic in a bowl! Unlike traditional ice cream, which requires churning and patience, this frosty treat comes together in minutes using freshly fallen snow and a few pantry staples. It’s light, fluffy, and melts on your tongue like a snowflake—only way sweeter!
So where did this chilly dessert come from? Turns out, people have been turning snow into sweet treats for centuries!
- Ancient Romans mixed snow with honey and fruit for an icy delicacy
- In the 1800s, some Americans added cream and sugar to snow for a quick homemade dessert
- Today, it’s a fun, spontaneous way to turn a snowy day into a delicious memory
Every snowfall is an excuse to scoop up some fresh flakes and whip up a batch of snow ice cream. Just make sure to avoid the yellow snow… unless you’re making lemon flavor (kidding, don’t do that)!
Ingredients You’ll Need
Snow ice cream is one of the simplest desserts you can make, but choosing the right ingredients will make all the difference in taste and texture. With just a few pantry staples and a fresh snowfall, you can whip up a deliciously creamy treat in minutes. The best part? You can customize it with fun flavors and toppings to make it your own!
Classic Snow Ice Cream Ingredients
| Ingredient | Amount | Purpose |
| Fresh, clean snow | 8-10 cups | The base of your ice cream, giving it a light and fluffy texture |
| Milk or heavy cream | 1 cup | Adds creaminess and richness |
| Granulated sugar | ½ cup | Sweetens the ice cream and balances the flavors |
| Vanilla extract | 1-2 teaspoons | Enhances the flavor with a warm, sweet aroma |
Fun Add-Ins for Extra Flavor
After mastering the basic recipe, you can start experimenting with new ideas! Here are some delicious mix-ins and toppings to make your snow ice cream even more exciting:
| Add-In | Flavor Boost |
| Chocolate syrup | Turns it into a fudgy, chocolatey delight |
| Strawberry or caramel sauce | Adds a fruity or buttery sweetness |
| Crushed cookies or candy | Brings a crunchy texture and extra flavor |
| Sprinkles | Makes it colorful and fun for all ages |
| A pinch of salt | Enhances the sweetness and deepens the flavors |
| Peppermint extract | Gives it a cool, refreshing twist |
| Cinnamon or nutmeg | Adds a cozy, spiced flavor perfect for winter |
Feel free to mix and match flavors to create your ultimate snow ice cream experience. Whether you keep it classic or go wild with toppings, every bowl is a little taste of winter magic!
Step-by-Step Directions
Making snow ice cream is quick and easy, but a little technique goes a long way. Follow these steps to get the best texture, flavor, and consistency while keeping everything safe to eat.
Collecting Fresh Snow the Right Way
Before you start scooping up snow, keep these tips in mind to make sure your ice cream is as fresh and clean as possible:
- Wait for a fresh snowfall – The first layer of snow may have dust or debris, so it’s best to collect after it’s been snowing for a while.
- Scoop from the top – Avoid snow that has touched the ground, sidewalks, or roads. Clean, untouched snow from an open area is best.
- Use a large bowl – Snow compacts quickly, so grab more than you think you’ll need.
Mixing Everything Together
Once you have your snow, it’s time to turn it into a creamy, dreamy dessert:
In a large mixing bowl, stir together milk (or cream), sugar, and vanilla extract until the sugar dissolves.
Gradually add the fresh snow, stirring continuously until the mixture thickens into a soft, scoopable texture.
If the ice cream is too liquid, add some more snow. If it’s too dry, splash in a little more milk.
Serve immediately or let it sit in the freezer for a few minutes to firm up.
Pro Tips for the Perfect Texture
- Work quickly – Snow melts fast, so mix everything together as soon as you bring it inside.
- Use cold ingredients – Chilled milk or cream helps slow down melting and keeps the ice cream smooth.
- Add mix-ins last – Stir in toppings like chocolate chips or sprinkles just before serving to keep them from sinking.
- Freeze for later – If you have leftovers, store them in an airtight container in the freezer, but be prepared for a slightly icier texture when you scoop it out.
Now all that’s left to do is grab a spoon and enjoy your homemade winter treat!
Equipment You’ll Need
You don’t need any fancy machines to make snow ice cream, but having the right tools will make the process smoother and more fun. Here’s what you’ll want to have on hand before you start scooping.
Essential Tools
| Tool | Purpose |
| Large mixing bowl | Holds the fresh snow and makes mixing easier |
| Measuring cups and spoons | Ensures the right balance of ingredients for the best flavor |
| Whisk or spoon | Helps blend the milk, sugar, and vanilla smoothly |
| Ice cream scoop | Makes serving easier and gives your snow ice cream a classic look |
| Airtight container (optional) | Useful for storing leftovers in the freezer |
Nice-to-Have Extras
While not necessary, these extras can take your snow ice cream experience to the next level:
- Mixing spatula – Helps fold in mix-ins like chocolate chips or fruit without breaking the texture
- Chilled metal bowl – Keeps the snow from melting too fast while you mix
- Toppings station – Set up a few small bowls with sprinkles, syrups, and crushed cookies for a fun DIY topping bar
With these simple tools, you’re ready to turn fresh snow into a delicious winter dessert in no time!
Expert Tips for the Best Snow Ice Cream
To make sure your snow ice cream turns out perfect every time, here are some expert tips for getting the right consistency and avoiding common mistakes. With just a few simple tricks, you’ll be enjoying this fun winter treat in no time!
How to Get the Right Consistency
The secret to perfect snow ice cream lies in getting the texture just right—creamy, yet light. Here are some ways to achieve that ideal consistency:
Use fresh snow – Fresh, clean snow is key for light, fluffy ice cream. Avoid snow that’s been sitting around for too long or that’s contaminated with dirt or debris.
Balance the milk and snow ratio – If your snow ice cream is too runny, add more snow. If it’s too thick, add a splash of milk or dairy or plant-based milk to loosen it up.
Use cold ingredients – Chilled milk and vanilla extract will help maintain the icy texture and prevent it from melting too quickly.
Sweetener options – You can swap out the sugar for honey, maple syrup, or agave if you prefer a more natural sweetener. Just adjust the amount to taste.
Common Mistakes to Avoid
Even though snow ice cream is an easy recipe with quick preparation, there are still a few missteps that can affect the final result:
Using old or dirty snow – Fresh snow is your best friend for a light and fluffy snow ice cream. Avoid any snow that’s been sitting around for a while or touched the ground.
Overmixing or undermixing – Stir the snow and milk mixture gently, but don’t overdo it. You want the snow to stay fluffy, not turn into shaved ice or ice crystals.
Not adjusting the texture – If your snow ice cream is too icy, try adding more milk or sweetener to improve its creaminess. If it’s too soft, add more snow to firm it up.
Forgetting the toppings – A sprinkle of sea salt, chocolate chips, sprinkles, or even crushed cookies can elevate your snow ice cream from basic to extraordinary. Don’t forget to add a little fun!
Creative Flavor Variations
Snow ice cream is a blank canvas just waiting for your creative touch! While the classic vanilla is always a winner, there are so many fun and delicious flavors you can try. Whether you’re a chocolate lover or craving something fruity, the possibilities are endless.
Chocolate, Strawberry, and Other Fun Flavors
Chocolate snow ice cream – Add chocolate syrup or cocoa powder to your snow and mix until smooth for a rich, indulgent treat. You can even swirl in chocolate chips for extra texture!
Strawberry snow ice cream – Use strawberry syrup or fresh blended strawberries to create a fruity, vibrant flavor. It feels like a taste of summer, even when it’s cold outside!
Mint chocolate chip – Add peppermint extract for a refreshing twist, then stir in chocolate chips for that iconic minty-chocolate combo.
Peanut butter swirl – For a nutty flavor, swirl in some creamy peanut butter and sprinkle with chopped peanuts for crunch.
Cinnamon-spiced snow ice cream – Sprinkle in some cinnamon for a cozy, spiced flavor perfect for winter months. You can even pair it with apple or pear syrup for a warm, comforting treat.
Dairy-Free and Vegan Options
Snow ice cream can easily be adapted for dairy-free and vegan diets without losing any of its deliciousness! Here are a few ideas:
Dairy-free milk options – Swap out the milk or cream for almond milk, coconut milk, or oat milk for a creamy, dairy-free base.
Sweeteners – Instead of granulated sugar, try maple syrup or coconut sugar for a natural sweetener that fits vegan preferences.
Vegan chocolate chips – Look for dairy-free chocolate chips to add a chocolatey bite to your snow ice cream.
Coconut whipped cream – For an extra creamy topping, try adding a dollop of coconut whipped cream for a vegan-friendly twist.
The beauty of snow ice cream is that it’s fully customizable to your taste or dietary preferences. So go ahead, get creative and make your snow ice cream your own!
Nutrition Facts (Per Serving)
While snow ice cream is a fun winter treat, it’s always good to know what’s in it before you dive in for seconds! Here’s a breakdown of the general nutrition for a typical serving. Keep in mind that the exact numbers may vary depending on your choice of ingredients and toppings.
Typical Nutrition Per Serving (1/2 cup)
| Nutrient | Amount |
| Calories | 150-200 |
| Total Fat | 6-10 grams |
| Saturated Fat | 3-6 grams |
| Carbohydrates | 20-25 grams |
| Sugars | 15-20 grams |
| Protein | 2-4 grams |
| Fiber | 0 grams |
| Sodium | 20-50 mg |
Customization Adjustments
Using plant-based milk – If you switch to almond, oat, or coconut milk, you can reduce the calories and fat content, depending on the type of milk used.
Sugar substitutes – Replacing sugar with a low-calorie sweetener like stevia or monk fruit can cut down on the sugar content while keeping the sweetness.
Toppings – Adding chocolate chips, sprinkles, or candies will increase the calorie and sugar count, so be mindful if you’re watching your intake.
Whether you’re indulging occasionally or making a fun, seasonal treat, snow ice cream is a sweet way to enjoy the winter season in moderation!
Fun Ways to Enjoy Snow Ice Cream
Snow ice cream is more than just a treat—it’s an experience! There are plenty of creative ways to serve it, and it’s even more fun when shared with others. Whether you’re serving it for a special occasion or turning a snowy day into a family activity, the possibilities are endless.
Serving Ideas and Toppings
Scoop it into cones – Classic and fun! Serve your snow ice cream in waffle cones or sugar cones for a nostalgic touch.
Top it with your favorites – Go wild with toppings like chocolate chips, sprinkles, crushed cookies, or chopped nuts. Add a drizzle of syrup—chocolate, caramel, or even fruit— for extra sweetness!
Make a sundae – Layer snow ice cream with fruit, granola, or whipped cream to create a mini sundae bar. You can even add a cherry on top for the ultimate treat.
Snow ice cream floats – Pour a little soda, like lemon-lime, over a scoop of snow ice cream for a fizzy, sweet twist.
How to Turn It Into a Family Activity
Snow ice cream isn’t just about the end result—it’s about the fun you have along the way! Here are some ideas to make it a family event:
Snow scavenger hunt – Before making your snow ice cream, send the kids on a fun snow scavenger hunt to find the freshest snow.
DIY toppings station – Set up a toppings bar with an assortment of sweet treats so everyone can build their own personalized snow ice cream masterpiece.
Snow ice cream contest – Have a friendly family competition to see who can come up with the most creative flavor or topping combo.
Snow ice cream party – Invite friends or neighbors over for a snow ice cream party complete with games, hot cocoa, and, of course, a snowy treat bar!
FAQ
Can you safely eat snow ice cream?
Yes, you can safely eat snow ice cream as long as you use clean, fresh snow. It’s important to avoid snow that has been contaminated by dirt, pollutants, or has touched the ground. Always collect snow from a safe, untouched location.
How would you describe the taste of snow ice cream?
Snow ice cream has a sweet, creamy flavor with a light, fluffy texture. The taste largely depends on the ingredients added, like vanilla extract and sugar, which give it a classic ice cream flavor. Add-ins like chocolate chips or fruit can enhance the flavor even further.
What ingredients go into making snow ice cream?
Snow ice cream typically requires fresh snow, milk or cream, sugar, and vanilla extract. You can also customize it by adding toppings such as chocolate syrup, sprinkles, or crushed cookies for added flavor and texture.
Is snow ice cream a healthy treat?
Snow ice cream is not necessarily considered a health food, as it often contains sugar and dairy or cream, which can add calories. However, it can be made healthier with alternative sweeteners or plant-based milks. It’s more enjoyable when consumed occasionally, not as a daily snack.
What is the composition of snow?
Snow is primarily made up of frozen water molecules that form ice crystals. It can also contain trace amounts of dust, pollutants, or other particles from the atmosphere, depending on the environment in which it falls.
What kind of flavor does snow have?
Snow itself is generally flavorless, with a subtle, clean taste. Any flavor it may have comes from the environment or the added ingredients in snow ice cream, such as sugar, vanilla, or toppings.
Conclusion
Making snow ice cream is a delightful way to turn a snowy day into a fun, sweet experience. Whether you’re enjoying a classic vanilla flavor or getting creative with toppings and mix-ins, snow ice cream is a treat that everyone can enjoy. Remember, the key is using fresh snow, mixing in your favorite ingredients, and sharing the joy with friends or family. So the next time the snowflakes start to fall, don’t just watch from the window—grab a bowl and start making your own frosty dessert!