How to Make the Perfect Homemade Sourdough Sandwich Bread
Take your sandwiches to the next level with homemade sourdough sandwich bread. It’s not only tasty but also good for you. Sourdough’s unique taste and texture make it stand out from store-bought bread. This guide will show you how to make the perfect sourdough sandwich loaf at home.
- How to Make the Perfect Homemade Sourdough Sandwich Bread
- Why Choose Sourdough for Your Sandwich Bread
- Essential Ingredients for Perfect Sourdough Sandwich Bread
- Understanding Your Sourdough Starter
- Equipment and Tools You'll Need
- Step-by-Step Mixing and Kneading Process
- Mastering the Bulk Fermentation
- Sourdough Bread Recipes for Sandwich Perfection
- Shaping and Final Proofing Techniques
- Baking Methods for the Perfect Crust and Crumb
- Storage and Serving Tips
- FAQ
Why Choose Sourdough for Your Sandwich Bread
Choosing the right bread for your sandwich is key. Sourdough is a top pick for health-conscious bakers. It’s packed with benefits that make it perfect for your sandwich.
Health Benefits of Sourdough
Sourdough bread is better for you than regular bread. The way it’s made breaks down gluten and carbs, making it easier to digest. This is great for those with gluten issues or watching their carb intake.
It also has more vitamins, minerals, and antioxidants. This adds a nutritional boost to your sandwich.
Flavor Profile and Texture Advantages
Sourdough’s taste is a treat for your taste buds. It has a tangy, slightly sour flavor that goes well with many fillings. The texture is also special, with a chewy inside and a crisp crust.
Digestibility and Nutritional Value
Sourdough is also easier to digest than regular bread. The fermentation process makes carbs more digestible. This can help with discomfort or bloating from regular bread.
It’s also packed with nutrients like vitamins, minerals, and fiber. These support your overall health and wellness.
Adding sourdough to your sandwich bread options is a smart move. It offers delicious flavors and health benefits. It’s a great choice for anyone who loves a good sandwich.
Essential Ingredients for Perfect Sourdough Sandwich Bread
Making sourdough sandwich bread is all about mixing the right ingredients. At the core are sourdough ingredients like flour, salt, and water. Each one is vital for a delicious loaf.
The flour types you pick affect the bread’s texture and taste. All-purpose flour is common, but mixing bread flour and whole wheat flour adds depth to your bread.
| Flour Type | Protein Content | Best Uses |
|---|---|---|
| All-Purpose Flour | 10-12% | Versatile for many baked goods |
| Bread Flour | 12-14% | Chewier texture, ideal for artisan breads |
| Whole Wheat Flour | 12-14% | Adds heartiness and nutty flavor |
No sourdough recipe is complete without salt. It boosts flavor and helps the dough’s structure, making it chewy and well-structured.
The water used in your recipe also matters. Choose filtered or spring water for better dough hydration and fermentation.
Creating the perfect sourdough sandwich bread is about finding the right balance. Try different flour mixes, adjust salt, and watch your water use. This will help you craft a recipe that you’ll love.
Understanding Your Sourdough Starter
The sourdough starter is at the heart of delicious sourdough bread. It’s a living culture that’s key to your baking success. Learning to create and keep a healthy starter is essential for making perfect loaves. We’ll dive into the details of managing your starter, keeping it alive and ready to make your dough into a tasty masterpiece.
Creating and Maintaining a Healthy Starter
Starting a sourdough starter from scratch might seem hard, but it’s doable with patience and care. Feed your starter with flour and water regularly. This lets it ferment and grow its unique flavor. Keeping a regular feeding schedule is important for your starter’s health.
Signs of an Active Starter
- Bubbles and expansion: A healthy starter will show signs of fermentation, such as bubbles, increased volume, and a bubbly appearance.
- Tangy aroma: A well-developed sourdough starter will have a pleasantly tangy, slightly yeasty scent.
- Reliable rise: When you add your starter to your dough, it should contribute to a noticeable rise, indicating its strength and activity.
Troubleshooting Common Starter Issues
Even experienced bakers can face starter problems. Issues like discoloration, lack of activity, or bad smells can be fixed. Keep an eye on your starter, adjust your feeding, and try new things to find the right balance for your sourdough starter.
| Common Starter Issues | Possible Causes | Solutions |
|---|---|---|
| Slow or inactive starter | Inadequate feeding, temperature fluctuations, old or expired starter | Increase feeding frequency, adjust temperature, refresh with new flour |
| Foul, alcoholic odor | Over-fermentation, high temperatures, insufficient feedings | Discard and refresh with new flour and water, reduce feeding interval |
| Pink, orange, or green discoloration | Bacterial contamination, poor hygiene, old flour | Discard and start with fresh ingredients, improve sanitization practices |
Knowing the signs of a healthy sourdough starter and solving problems will help you keep a strong starter. This will be the base for your tasty sourdough bread.
Equipment and Tools You’ll Need
Creating sourdough bread at home needs the right tools. From mixing bowls to baking stones, the right bread-making tools and baking equipment are key. Let’s look at the kitchen essentials you’ll need to make perfect sourdough bread.
Mixing Bowls and Utensils
- Large mixing bowl: This is where you’ll mix and knead the dough.
- Dough scraper: A flexible tool for handling the dough during mixing and shaping.
- Measuring cups and spoons: Accurate measurements are vital for consistent bread.
- Spatula: A sturdy tool for mixing and scraping the bowl’s sides.
Proofing and Shaping Tools
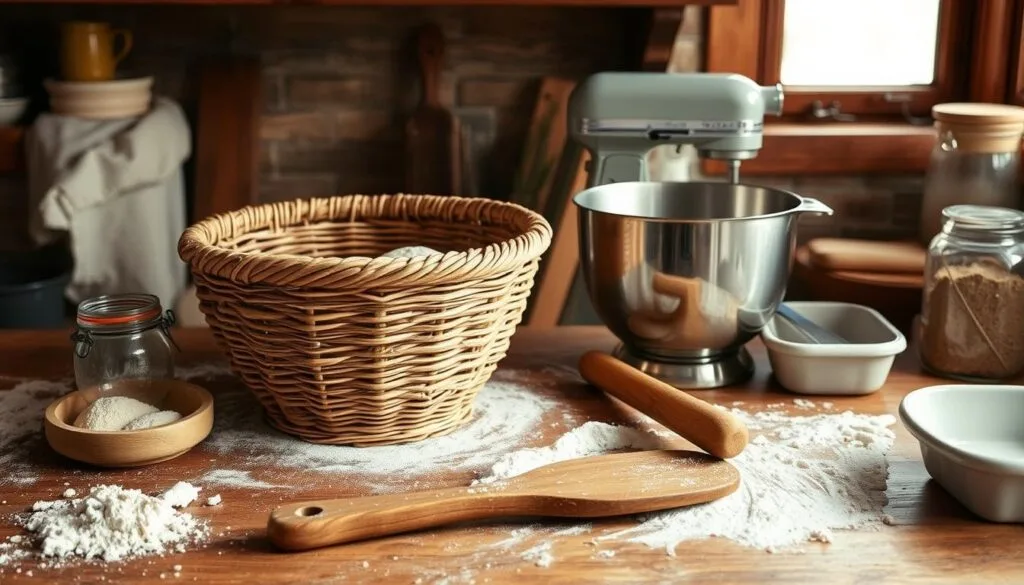
- Proofing baskets (bannetons): These baskets help the dough keep its shape during the final rise.
- Bench scraper: Useful for cutting, shaping, and moving the dough.
- Lame or bread scoring knife: Scores the dough’s top before baking, creating a nice pattern.
Baking Equipment
| Item | Purpose |
|---|---|
| Baking stone or steel | Ensures a crisp crust by distributing heat evenly. |
| Dutch oven or lidded pot | Creates a professional crust by trapping steam. |
| Oven thermometer | Guarantees the oven is at the right temperature for baking. |
With these bread-making tools, baking equipment, and kitchen essentials, you’re ready to make delicious sourdough sandwich bread at home. The right tools are crucial for achieving that perfect sourdough texture and taste.

Step-by-Step Mixing and Kneading Process
Learning to mix and knead is key for making great sourdough sandwich bread. Knowing the right techniques helps your dough develop fully. This ensures a strong gluten structure.
Initial Mixing Technique
Start by mixing your sourdough starter, water, and flour in a big bowl. Mix them until they form a shaggy dough. This step is important for getting the flour wet and starting gluten development.
Proper Kneading Methods
- After the dough comes together, put it on a floured surface. Start kneading by pushing the dough away with your heel, then fold it back.
- Turn the dough a quarter turn and knead again. Keep doing this for 5-10 minutes until it’s smooth and elastic.
- Watch the dough’s texture while kneading. Add flour or water if needed to keep it right, slightly tacky but not too sticky.
Signs of Well-Developed Gluten
- A dough that’s smooth and stretchy, can be pulled into a thin “windowpane” without tearing.
- The dough should pass the “poke test,” where a gentle poke leaves an indentation that slowly fills back in.
- When lifting the dough, it should feel light and airy, with a noticeable increase in volume.
By using these mixing and kneading techniques, you’ll get the perfect gluten for your sourdough sandwich bread.
Mastering the Bulk Fermentation
Making the perfect sourdough sandwich bread needs a good grasp of bulk fermentation. This stage is key for developing the dough’s flavor, texture, and sourdough rise. By managing the bulk fermentation well, you can bring out the best in your sourdough loaf.
The bulk fermentation lasts from 4 to 8 hours. It depends on temperature, dough hydration, and starter activity. During this time, yeast and bacteria break down sugars, making carbon dioxide and lactic acid. This process gives your bread its unique taste, makes it easier to digest, and boosts its nutritional value.
To get the best bulk fermentation, keep the temperature between 75°F to 85°F (24°C to 29°C). This range is perfect for yeast and bacteria activity. It leads to a well-fermented dough and a sourdough rise that’s both impressive and enjoyable.
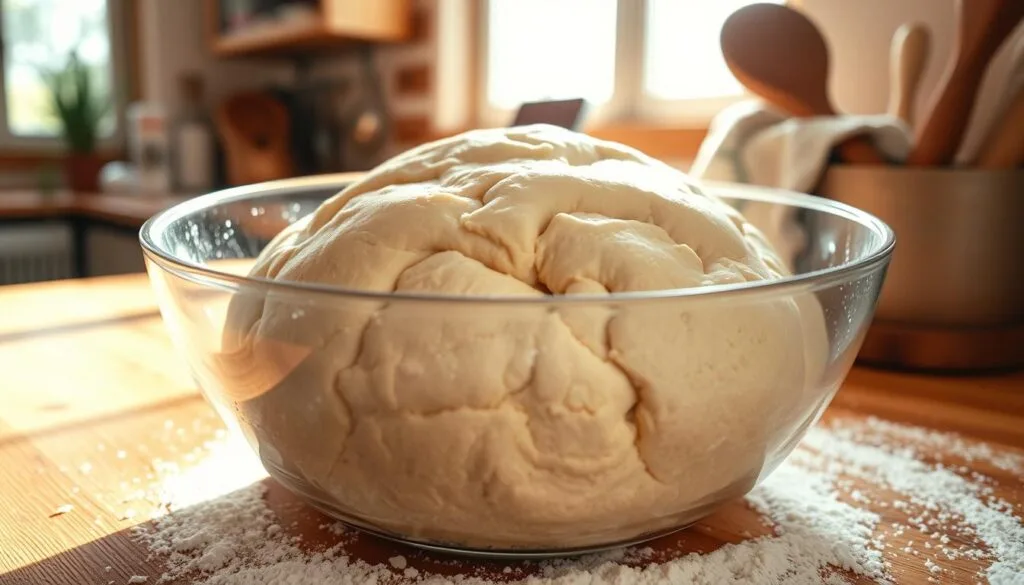
As the bulk fermentation goes on, your dough will grow and form a dome shape. This shows the gluten network is strong, and the dough is ready for the next step.
“Patience and attention to detail are the keys to mastering the bulk fermentation stage of sourdough bread-making. This is where the magic happens, transforming simple ingredients into a truly exceptional loaf.”
The bulk fermentation is a crucial part of making sourdough. By understanding and controlling this stage, you’ll be on your way to making a sourdough sandwich bread that everyone will love.

Sourdough Bread Recipes for Sandwich Perfection
Take your sandwiches to the next level with these tasty sourdough bread recipes. Choose from a classic white loaf, a hearty whole wheat, or a multi-grain option. Explore these recipes to make the perfect sourdough sandwich.
Classic White Sandwich Loaf
Begin with our classic white sourdough sandwich loaf. It has a soft crumb and a golden crust, ideal for any sandwich. With simple ingredients, you’ll soon enjoy homemade sourdough.
Whole Wheat Variation
Try our whole wheat sourdough sandwich bread for a healthier option. It combines the earthy taste of whole wheat with sourdough’s tang. It’s perfect for a satisfying, wholesome sandwich.
Multi-grain Options
Discover the variety of sourdough sandwich bread with our multi-grain recipes. These loaves mix grains, seeds, and flours for a unique taste and texture. From seeded to oat-and-rye, there’s a multi-grain for everyone.
Whichever recipe you pick, homemade sourdough will elevate your sandwiches. Enjoy the unmatched taste and texture of sourdough in every bite.
Shaping and Final Proofing Techniques
Learning to shape bread is key to making the perfect sourdough sandwich loaf. The right dough shaping techniques help create a tender crumb and a domed top. When shaping, stretch and fold the dough gently to keep air pockets intact.
The final proofing stage is when your bread really comes alive. Here, the dough rises one last time, making it light and airy. Make sure the proofing area is warm and humid for the best results. Watch the dough closely to avoid over-proofing, which can make it dense.
- Gently stretch and fold the dough to create surface tension.
- Shape the dough into a tight, smooth boule or loaf shape.
- Place the shaped dough in a lightly greased proofing basket or loaf pan.
- Allow the dough to proof in a warm, humid environment until it has nearly doubled in size.
- Use the “poke test” to determine when the dough is ready for baking – a gentle poke should leave a slight indentation that slowly fills back in.
| Dough Shaping Techniques | Final Proofing Considerations |
|---|---|
| – Stretching and folding – Gentle handling to preserve air pockets – Shaping into a tight, smooth boule or loaf | – Warm, humid environment (75-85°F, 75-85% humidity) – Proof until dough has nearly doubled in size – Use the “poke test” to determine readiness |
By mastering bread shaping and final proofing, you’ll make sourdough sandwich bread that’s light and airy. With practice, you’ll soon be shaping dough like a pro.
Baking Methods for the Perfect Crust and Crumb
Getting the perfect crust and crumb in sourdough sandwich bread is an art. It needs specific baking techniques. Knowing about temperature, timing, oven setup, and steam is key. These elements can greatly improve your sourdough baking.
Temperature and Timing Guidelines
The right temperature and time are crucial for a great sourdough crust. Baking should be done at 400°F to 450°F (200°C to 230°C). This high heat makes the crust crisp and golden while the inside crumb texture develops fully.
Most sourdough sandwich breads bake for 30 to 40 minutes. But, watch the loaf closely. Baking times can change based on oven type, loaf size, and recipe. Aim for a deep, even crust color and a fully cooked center.
Steam and Oven Setup
- Using steam early in baking is part of sourdough baking methods. You can use a hot water pan in the oven or a steaming device.
- Steam creates a moist environment. This is key for a crisp, shiny crust. It also helps the bread rise and expand fully.
- Preheat your oven to the right temperature before baking. Using a baking stone or steel can help with even crumb texture development.
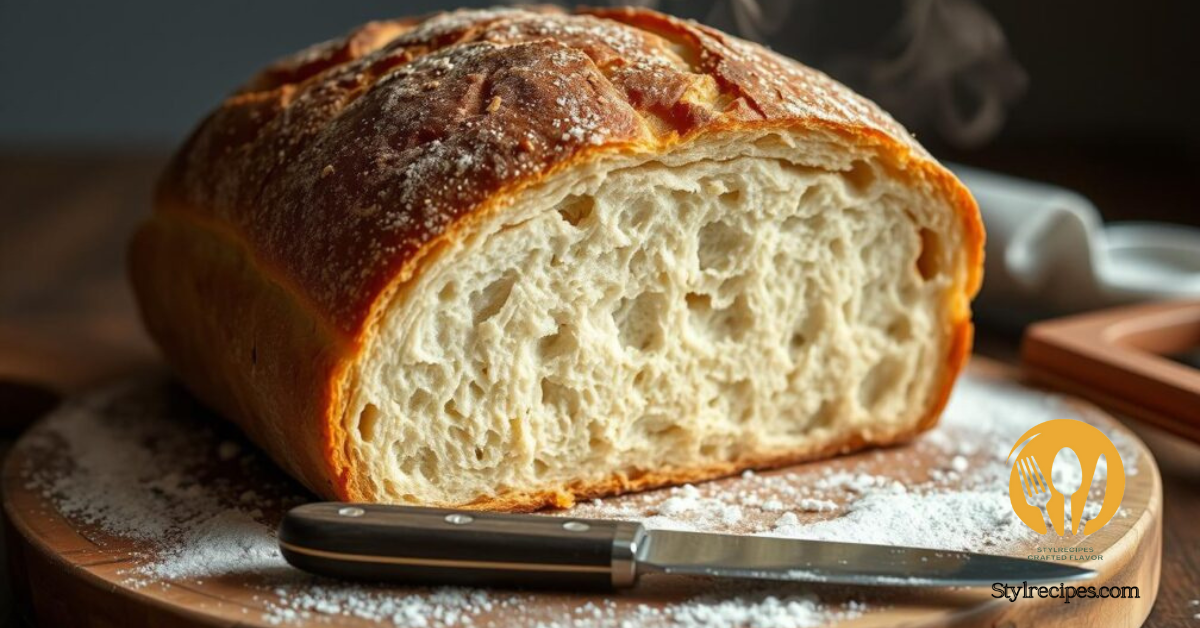
Mastering these baking techniques will help you make sourdough sandwich breads. They will have a golden-brown crust and a soft, airy crumb.
Storage and Serving Tips
Keeping your homemade sourdough sandwich bread fresh is key. Store it in a paper or cloth bag after it cools. Or, wrap it tightly in plastic wrap. This keeps the crust crisp and the inside soft.
For longer storage, freeze the bread. Just slice it, wrap each slice, and freeze for up to 3 months.
When serving, pair the bread well. Use a serrated knife for clean slices. Add your favorite meats, cheeses, and condiments to sandwiches. Or, enjoy it alone with olive oil or butter.
Sourdough is great with soups, stews, and salads too. It adds texture and flavor.
For a special touch, toast or grill the bread. It enhances the nutty flavors and crisps the outside. Try rubbing it with garlic or serving it with dips and spreads.
FAQ
How do I create and maintain a healthy sourdough starter?
To keep a sourdough starter healthy, feed it with flour and water regularly. Start by mixing equal parts of flour and water. Let it sit at room temperature, feeding it once or twice a day.
Over time, it will become active and ready for baking. Look for signs like bubbles and a sour smell.
What are the signs of an active sourdough starter?
An active starter shows life signs like bubbles and a sour smell. It should also grow in size quickly. If not, it might need more food or attention.
How do I troubleshoot common sourdough starter issues?
For starter problems, check the temperature. It should be around 70-80°F. If slow, try feeding it more or changing the flour ratio.
If it smells bad or has mold, start fresh. Regular care keeps it healthy.
What types of flour work best for sourdough bread?
Use high-protein flours like all-purpose or bread flour for sourdough. Whole wheat or rye need longer time. Avoid all-purpose alone for better rise.
How do I know when my sourdough dough is properly kneaded?
Proper kneading makes the dough smooth and elastic. Try the “window pane” test. Stretch a piece of dough thin to see light through without tears.
How do I know when my sourdough bread has finished bulk fermentation?
Bulk fermentation ends when the dough doubles and passes the “poke test.” Press it gently; if it springs back, it’s ready.
What are the best techniques for shaping and proofing sourdough bread?
Shape the dough by stretching and folding it. Then, shape it into a ball. Place it in a floured basket or on a sheet, seam down.
During proofing, it should grow by 50% and pass the “poke test.”
How do I achieve the perfect crust and crumb in my sourdough bread?
For a great crust and crumb, preheat your oven with a stone or steel at 450-500°F. Add water for steam. Bake until golden, checking with a thermometer for 205-210°F.

