How to Make Perfect Oven-Roasted Chicken Legs
To make chicken legs in oven, start by preheating your oven to 425°F (220°C), place seasoned chicken legs on a baking sheet, and roast for 35-40 minutes until the internal temperature reaches 165°F (74°C). For the best results, brush the chicken legs with oil and your favorite seasonings before cooking, and consider flipping them halfway through the cooking time for even browning. Let the chicken legs rest for 5-10 minutes after removing from the oven before serving to allow the juices to redistribute throughout the meat.
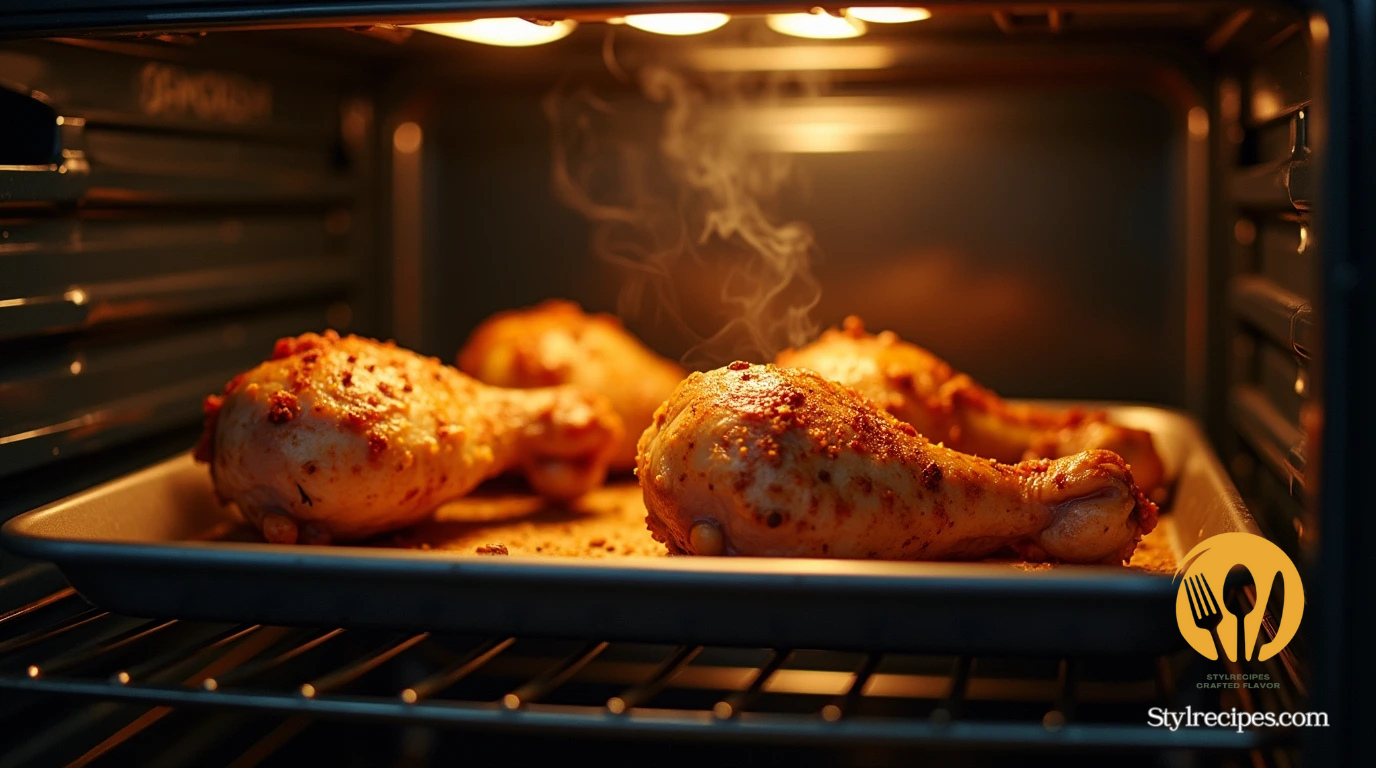
Imagine pulling a tray of golden-brown, sizzling chicken legs from your oven, their skin crackling with promise as the aroma fills your kitchen. That first bite? Pure crispy-on-the-outside, juicy-on-the-inside magic. But wait—before you resign yourself to bland, rubbery chicken legs (we’ve all been there), I’m about to let you in on the secrets that will transform you into the chicken leg whisperer of your friend group.
Whether you’re a kitchen novice or a seasoned home chef, these oven-roasted chicken legs are about to become your new dinner party showstopper. Stick around, because I’m sharing every juicy detail—from the unexpected ingredient that creates that perfect crunch to the precise moment to pull them from the oven for maximum deliciousness. Your taste buds are already thanking you for reading this far, and trust me, the best is yet to come!
Table of Contents
What You’ll Need
Oh, hello there, chicken enthusiast! Ready to transform those humble chicken legs into mouth-watering morsels of deliciousness? Let’s gather our chicken-whispering toolkit, shall we? Think of this as your treasure map to crispy-on-the-outside, juicy-on-the-inside chicken leg nirvana!
Essential Ingredients
- Chicken legs – Obviously! (About 4-6, depending on how many hungry mouths you’re feeding)
- Olive oil – Our crispy skin secret weapon (2-3 tablespoons should do the trick)
- Salt and pepper – The dynamic duo of seasoning (Don’t be shy!)
- Garlic powder – Because everything tastes better with garlic (1-2 teaspoons)
- Paprika – For that gorgeous color and subtle smoky flavor (1 teaspoon)
- Dried herbs – Thyme, rosemary, or oregano make excellent chicken companions (1 teaspoon)
- Lemon – Half for juice, half for slices (Trust me on this zesty addition!)
Kitchen Equipment
- Baking sheet – Your chicken’s temporary tanning bed
- Rack (optional) – Elevates your chicken for all-around crispiness
- Aluminum foil or parchment paper – For those who despise dishwashing
- Meat thermometer – The fortune teller that predicts when your chicken is perfectly done
- Tongs – For flipping without finger-burning incidents
- Small bowl – For your seasoning mixture masterpiece
Flavor Adventure Options
Want to take your chicken legs on a global taste adventure? Here’s your passport to flavor town:
| Flavor Profile | Key Ingredients | Perfect Pairings |
| Italian Vacation | Oregano, basil, garlic, parmesan | Pasta, garlic bread |
| Spicy Fiesta | Chili powder, cumin, cayenne, lime | Rice, beans, avocado |
| Asian Fusion | Soy sauce, ginger, honey, sesame | Rice, stir-fried veggies |
| Backyard BBQ | Brown sugar, smoked paprika, garlic | Corn on the cob, coleslaw |
| Mediterranean Dream | Lemon, oregano, olive oil, garlic | Greek salad, pita bread |
Remember, dear chicken champion, these are just suggestions! Feel free to unleash your inner culinary rebel and create your own signature seasonings. After all, the chicken leg world is your oyster… wait, that metaphor doesn’t quite work, but you get the idea!
Now that we’ve assembled our chicken leg dream team of ingredients and equipment, we’re ready to march boldly into preparation territory. Onward to chicken leg glory!
Preparing Your Chicken Legs
Before your chicken legs hit the oven’s heat, they need some TLC (Tender Loving Care) to ensure they emerge as crispy, flavorful perfection. Proper preparation is the secret behind those restaurant-quality chicken legs in oven that everyone raves about.
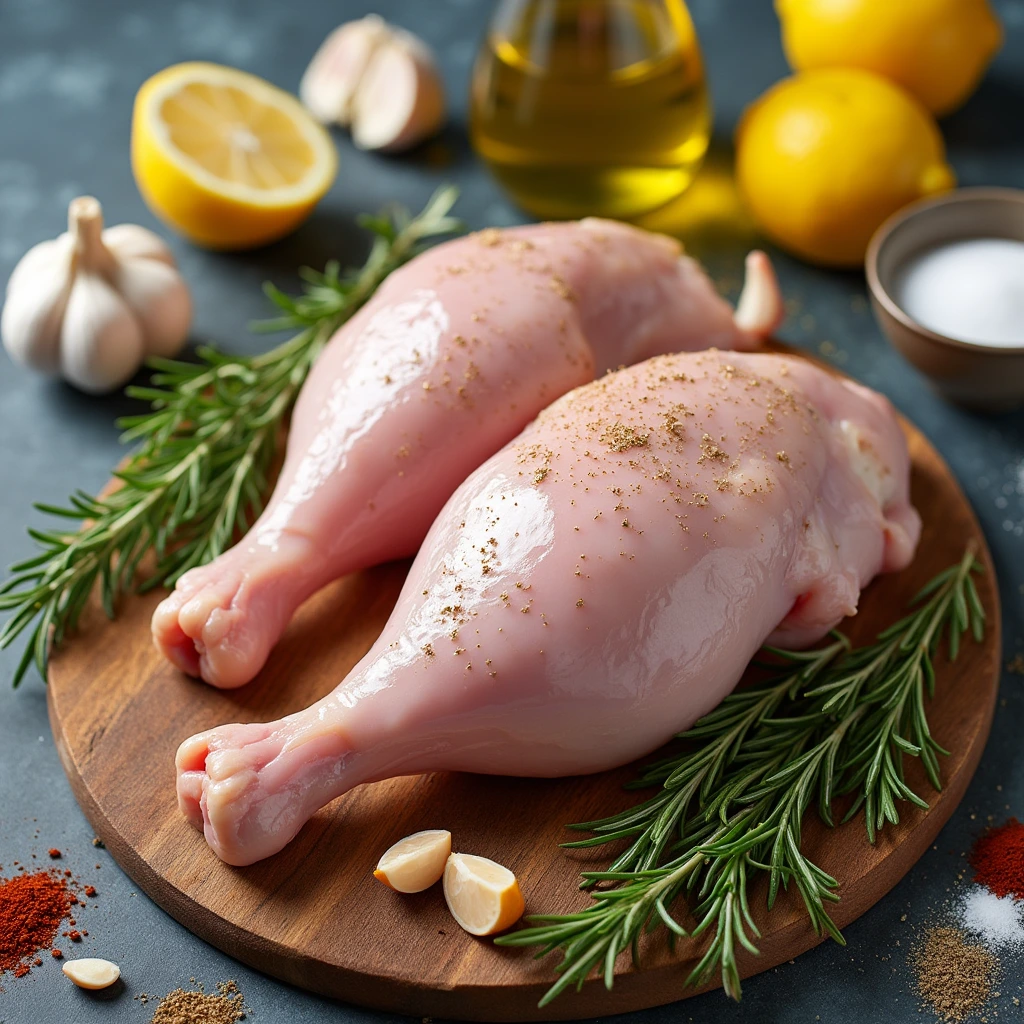
Cleaning and Patting Dry
The journey to delicious chicken legs in oven begins with proper cleaning:
Remove your chicken legs from packaging and rinse them under cold water.
Examine each piece and remove any excess fat or skin if desired.
Critical step: Pat each chicken leg thoroughly dry with paper towels. This isn’t just busy work—excess moisture is the enemy of crispy skin!
Let the chicken legs rest at room temperature for 15-20 minutes while you preheat your oven to 425°F (220°C).
Seasoning Techniques
Seasoning is where your chicken legs in oven transform from ordinary to extraordinary:
- Base seasoning: Start with salt and pepper as your foundation. Apply generously to all sides of the chicken legs.
- Dry rub method: Mix your spices (paprika, garlic powder, onion powder, herbs) in a small bowl, then apply liberally to the chicken legs, massaging it into the skin.
- Layering technique: For complex flavor, apply in stages—salt first, then herbs, then spices.
- Under-skin seasoning: For flavor that penetrates deep, gently loosen the skin and insert herbs or compound butter underneath.
Oil and Butter Considerations
Fat is your friend when preparing chicken legs in oven:
| Fat Type | Benefits | Best Uses |
| Olive oil | Helps spices adhere, encourages browning | All-purpose, great for Mediterranean flavors |
| Butter | Adds richness and promotes browning | Mix with herbs for compound butter, brush on during last 10 minutes |
| Ghee | High smoke point, rich flavor | Ideal for high-heat roasting |
| Avocado oil | Neutral flavor, high smoke point | Perfect for letting spice blends shine |
Brush your chosen fat on all surfaces of the chicken legs before applying seasonings. For extra flavor, consider a second light brushing halfway through cooking.
Marinating Options and Timing
While not required, marinating can elevate your chicken legs in oven to new heights:
- Quick marinade (30 minutes): Lemon juice, olive oil, garlic, and herbs work well for a fast flavor boost.
- Medium marinade (2-4 hours): Yogurt-based marinades tenderize while adding tang.
- Overnight marinade (8-24 hours): More complex flavors like buttermilk with spices or soy-based marinades.
Cooking Method
Alright, chicken enthusiasts! Now that your chicken legs are prepped and seasoned to perfection, it’s time for the main event—transforming those raw ingredients into golden, crispy, mouth-watering chicken legs in oven. Let’s crank up the heat and get cooking! This is where kitchen magic happens, turning simple ingredients into a meal that’ll have everyone asking for seconds.
Optimal Oven Temperature
Finding the sweet spot temperature for chicken legs in oven is like discovering the secret password to Flavor Town—it unlocks a world of culinary possibilities:
- 425°F (220°C): The gold standard for crispy skin and juicy meat. This higher temperature creates that perfect contrast between crunchy exterior and tender interior that makes chicken legs irresistible.
- 375°F (190°C): Lower and slower for more tender results (add 10-15 minutes). This gentle approach breaks down connective tissues more gradually, resulting in fall-off-the-bone tenderness. Perfect for when you’re not in a rush and want extra succulent chicken legs in oven.
- 450°F (230°C): Quick cooking for when you’re in a hurry (watch carefully to prevent burning!). This temperature is for the risk-takers and the desperately hungry—it’ll get dinner on the table faster but requires your vigilant attention to prevent the dreaded burnt-but-raw paradox.
Pro tip: Always preheat your oven for at least 15 minutes before introducing your chicken legs. A properly heated oven is non-negotiable for that perfect crisp! Your oven thermometer might say it’s ready, but giving it those extra minutes ensures even heat distribution throughout the entire cooking chamber.
Bonus science bit: The Maillard reaction—that beautiful browning process that creates hundreds of flavor compounds—happens most effectively above 300°F (150°C), which is why we don’t go lower than 375°F for chicken legs in oven. Science is delicious!
Positioning in the Oven
Location, location, location! Where you place those chicken legs in oven matters more than you think—it’s the difference between merely good and absolutely stellar results:
- Middle rack: The ideal position for even cooking. This sweet spot balances top and bottom heat for the most consistent results.
- On a wire rack: Elevates the chicken, allowing hot air to circulate underneath (hello, 360° crispiness!). This method requires a bit more cleanup but delivers restaurant-quality results by preventing the dreaded “soggy bottom.”
- Spacing matters: Leave at least 1 inch between pieces—crowding is the enemy of crispiness. Each chicken leg deserves its personal space bubble! When chicken legs touch, they steam each other rather than roast, and nobody wants steamed skin when they could have crispy goodness.
- Baking dish vs. sheet pan: A rimmed baking sheet promotes better air circulation and crispier skin, while a deeper baking dish collects more juices (perfect if you’re planning to make a quick pan sauce afterward).
For convection ovens, reduce temperature by 25°F and expect slightly faster cooking times—your chicken legs will thank you with extra crispiness! The circulating air in convection ovens is like a chef constantly basting your chicken with heat from all angles.
When and How to Flip
The eternal chicken question: to flip or not to flip? Let’s settle this debate once and for all for perfect chicken legs in oven:
- Single flip method: Cook for 25 minutes skin-side up, flip, then continue for 15-20 minutes. This balanced approach gives you the best of both worlds—crispy skin and evenly cooked meat.
- No-flip method: For ultra-lazy (but still delicious) chicken legs in oven, position skin-side up and let the oven work its magic. This works particularly well if you’re using a rack or have excellent heat circulation in your oven.
- Multi-flip method: Flip every 15 minutes for the most even browning (perfectionist approach). This is for those who don’t mind babysitting their chicken a bit, resulting in the most uniformly golden exterior.
- The baste-and-flip: Combine flipping with a quick brush of pan juices or additional oil for maximum flavor development and beautiful color.
When flipping, use tongs (not a fork!) to avoid puncturing the meat and losing those precious juices. Think of each chicken leg as a tiny flavor reservoir—puncturing the skin is like poking a hole in a water balloon of deliciousness!
Achieving Crispy Skin
The holy grail of chicken legs in oven! Here’s the crispy skin cheat code that professional chefs don’t want you to know:
Ensure chicken legs are BONE dry before seasoning—pat them with paper towels like you’re polishing a precious gem
Apply oil directly to the skin for maximum crispification—use your hands to massage it in, ensuring every nook and cranny is covered
Don’t crowd the pan—give those legs some personal space so the hot air can circulate freely, turning moisture into crispy goodness
For extra crunch, brush with a mixture of melted butter and honey during the last 5-10 minutes—this creates a lacquered effect that’s both beautiful and delicious
Consider a 2-minute broil finish (watching constantly to prevent burning!)—this is the finishing move that takes your chicken legs in oven from great to spectacular
Try the “air-dry method”—place seasoned chicken legs uncovered in the refrigerator for 1-4 hours before cooking to dehydrate the skin (this is what Peking duck masters do!)
Add a sprinkle of baking powder to your dry rub (about 1/2 teaspoon per pound)—the slight alkalinity promotes browning and crisping
Secret chef technique: For extra crispy chicken legs in oven, blast them with high heat (450°F) for the first 10 minutes, then reduce to 375°F for the remaining cooking time. This “shock treatment” jump-starts the crisping process!
Testing for Doneness (Temperature Guide)
No one likes chicken roulette! Here’s your foolproof temperature guide to ensure your chicken legs in oven are both safe and scrumptious:
| Doneness Level | Internal Temperature | Visual Cues | Texture & Juiciness |
| Undercooked (unsafe!) | Below 165°F (74°C) | Pink meat, clear/pink juices | Soft, potentially rubbery texture (and potentially dangerous!) |
| Perfectly Done | 165°F-175°F (74°C-80°C) | White meat, clear juices | Tender, juicy, easily pulls from bone |
| Well Done | 175°F-180°F (80°C-82°C) | White meat, very little juice | Firmer texture, still moist but less juicy |
| Overdone | Above 180°F (82°C) | Dry, tough meat | Difficult to pull from bone, stringy texture |
Insert your meat thermometer into the thickest part of the chicken leg, avoiding contact with the bone (which conducts heat and gives false readings). For the most accurate reading, check both a drumstick and a thigh if you’re cooking whole legs.
The wiggle test: When chicken legs are done, the joint will move easily and feel slightly loose—nature’s built-in doneness indicator! Give that joint a gentle twist; if it moves freely, you’re good to go.
Color check: Cut into the thickest part near the bone—the meat should be completely opaque with no pink tinge. However, occasionally chicken legs (especially from younger birds) might retain a slightly pink tint near the bone even when fully cooked—this is why the temperature test trumps the visual check.
Remember, those chicken legs in oven will continue cooking for about 5 minutes after removal (called “carryover cooking”), so factor this into your timing for the juiciest results! Consider removing them when they reach about 160°F (71°C) if you plan to let them rest properly.
Rest time matters: Let those beautiful chicken legs rest for 5-10 minutes before serving. This isn’t just chef pretentiousness—it allows the juices to redistribute throughout the meat rather than spilling all over your plate when you take that first eager bite. Your patience will be rewarded with juicier, more flavorful chicken legs in oven.
Resting and Serving
Congratulations, kitchen warrior! Your oven baked chicken legs have emerged victorious from their heat battle, wearing that crispy skin like a badge of honor. But wait! Before you dive face-first into that juicy goodness, let’s talk about the secret step that separates amateur cooks from culinary legends: THE REST!
Why Resting Your Chicken Legs Matters
Your tender chicken legs just ran a marathon in that oven and need a little breather, okay?
- When you rest your oven baked poultry, those magnificent juices redistribute throughout the meat instead of spilling all over your plate
- This little timeout allows the seasoning blend to settle in for one last flavor party
- The difference between “mmm, nice” and “OH MY GOODNESS WHAT IS THIS SORCERY?” is about 10 minutes of patience!
The Resting Countdown
How long should these chicken legs take their beauty nap? I’m so glad you asked!
| Chicken Situation | Resting Time | What’s Happening Inside |
| Chicken legs straight outta the oven | 5-10 minutes | Juices are doing their magical redistribution dance |
| Large batch on a baking sheet | 10-15 minutes | Extra time for that paprika and garlic powder to fully set |
| Coated with extra thick seasoning blend | 8-12 minutes | Crispy skin is setting up while olive oil infusions continue |
Garnishing Ideas
Why stop at an easy recipe when you can elevate your chicken legs to art? These garnishes play beautifully with your onion powder and ground mustard base:
- Sprinkle fresh chopped parsley like confetti (it’s a chicken leg party, after all!)
- Add rosemary sprigs for that “I’m fancy but effortless” vibe
- Lemon wedges not only look pretty but add a zippy contrast to the garlic powder
- Drizzle with a touch more olive oil for that magazine-worthy glisten
Serving Suggestions That’ll Make You the Hero We All Need
Your juicy chicken legs deserve friends that are equally awesome. Here are some sidekicks worthy of your oven baked masterpiece:
- Fluffy mashed potatoes that’ll happily soak up those chicken leg drippings (seasoned with the same seasoning blend for flavor continuity!)
- Roasted vegetables that shared the baking sheet with your chicken legs – they’re basically flavor cousins now
- A crisp green salad to balance all the tender richness of your oven creation
- Crusty bread to swipe through any remaining juices (because wasting that paprika and rosemary goodness should be illegal)
Remember, these chicken legs didn’t spend all that time getting cozy with onion powder and friends just to be served on a boring plate! Go wild with the presentation – your oven baked chicken legs have earned their moment in the spotlight!
Expert Tips and Troubleshooting
Welcome to the secret chicken leg society, where we share the insider knowledge that separates the novices from the poultry professionals! Get ready for some game-changing advice for your oven baked chicken legs adventure.
Common Mistakes to Avoid
- Skipping the pat-dry step before applying your seasoning blend (moisture is the enemy of crispy skin!)
- Overcrowding your baking sheet (those chicken legs need personal space to crisp up properly)
- Opening the oven door too frequently (this drops the temperature and extends cooking time)
- Under-seasoning your chicken legs (don’t be shy with that paprika and garlic powder)
- Cooking straight from the refrigerator (let those legs warm up for 15-20 minutes for more tender results)
Adjusting Cooking Time for Different Sizes
Not all chicken legs are created equal! Size matters when it comes to achieving juicy, perfectly cooked poultry:
| Chicken Leg Size | Oven Temperature | Cooking Time | Doneness Check |
| Small drumsticks | 425°F | 25-30 minutes | Internal temp of 165°F |
| Medium chicken legs | 400°F | 35-40 minutes | Juices run clear |
| Large chicken quarters | 375°F | 45-55 minutes | No pink at the bone |
| Jumbo family-pack legs | 375°F | 50-60 minutes | Meat pulls away from bone |
Remember to use your trusty meat thermometer for perfect results every time! Tender chicken legs deserve precision.
Bone-in vs. Boneless Considerations
The great bone debate! Here’s what you need to know about these two very different approaches:
- Bone-in chicken legs:
- Retain more moisture during oven baking
- Take slightly longer to cook (but worth the wait for juicy results)
- Offer more flavor thanks to the marrow in the bones
- Work beautifully with dry rub seasoning blends
- Create natural handles for easy eating (bonus points for convenience!)
- Boneless chicken legs:
- Cook faster (perfect for your easy recipe weeknight needs)
- Absorb marinades more thoroughly
- Easier to get even coverage with olive oil and seasonings
- Slice more easily for presentation purposes
- Perfect for children or those who prefer hassle-free eating
Enhancing Flavor with Herbs and Spices
Let’s take your seasoning blend from good to phenomenal with these flavor-boosting strategies:
- Toast your ground mustard, onion powder, and paprika in a dry pan before mixing with olive oil to wake up those flavors
- Combine fresh and dried rosemary for a double-punch of flavor (dried for intensity, fresh for brightness)
- Create herb butter with parsley and garlic powder to slip under the chicken skin before baking
- Make a quick brine with your seasonings before applying your dry rub for extra-tender chicken legs
- Keep a spray bottle of olive oil infused with your favorite herbs to mist chicken legs halfway through cooking
Storage and Leftovers
Did your eyes prove bigger than your stomach? Lucky you! Those chicken legs in oven create some of the most magnificent leftovers in the culinary universe. Let’s make sure your precious oven baked poultry stays just as delicious on day two (and beyond).
Safe Storage Guidelines
- Allow your chicken legs in oven to cool completely before refrigerating (but don’t leave them at room temperature for more than 2 hours)
- Store in airtight containers to prevent your seasoning blend from absorbing other flavors in your fridge
- Separate chicken legs from any side dishes for best quality (those juicy morsels deserve their own container)
- Label with the date you prepared them (trust me, you’ll forget otherwise)
- Keep that crispy skin away from moisture to prevent sogginess (wrap individually if needed)
How Long They Last Refrigerated
Your chicken legs will remain safe and delicious in cold storage, but quality changes over time:
| Storage Time | Quality Level | Food Safety Notes |
| 1-2 days | Prime deliciousness | Flavors from garlic powder and onion powder continue to develop |
| 3-4 days | Still very good | Safe to eat, crispy skin may soften slightly |
| 5 days | Acceptable | Texture of the tender meat begins to change |
| 6+ days | Not recommended | While possibly safe, quality diminishes substantially |
Always use your nose and eyes! If your chicken legs in oven develop an off smell or appearance, it’s time to say goodbye regardless of the date.
Freezing Options
Those oven baked chicken legs freeze beautifully when done right:
- Cool completely before freezing (rushing this step causes ice crystals and texture damage)
- Remove skin if planning to freeze longer than a month (the crispy skin won’t survive freezing anyway)
- Wrap individual chicken legs tightly in plastic wrap, then place in freezer bags
- Remove as much air as possible from packaging (your future self will thank you)
- Freeze flat on a baking sheet first, then stack for efficient storage
- Maximum freezer time: 3-4 months for best quality (though they remain safe indefinitely)
Pro tip: Freeze any leftover olive oil and rosemary drippings in ice cube trays for ready-made flavor bombs in future meals!
Reheating Methods That Maintain Quality
Not all reheating methods are created equal when it comes to preserving your paprika and parsley masterpieces:
- Oven method (best for preserving crispy skin):
- Preheat to 350°F
- Lay the chicken legs on a baking tray covered with parchment paper
- Spritz with a little olive oil for moisture
- Cook for 15-20 minutes or until the inside reaches 165°F
- Microwave method (fastest but sacrifices texture):
- Place chicken legs on a microwave-safe plate
- Place a damp paper towel over it to retain moisture
- Heat in 30-second intervals until warmed through
- Finish under the broiler for 2 minutes to crisp up the skin
- Air fryer method (the miracle worker):
- 370°F for 3-4 minutes
- No additional oil needed
- Almost as good as fresh from the oven!
Remember, those chicken legs in oven were prepared with your amazing seasoning blend of ground mustard, paprika, and other delights, so they deserve an equally thoughtful reheating process to maintain that tender, juicy quality you worked so hard to achieve in your easy recipe.
With proper storage and reheating, your chicken legs can be the gift that keeps on giving, transforming into quick lunches, easy dinner solutions, or even creative new meals throughout the week!
Complete Meal Ideas
Let’s turn those scrumptious chicken legs in oven into the centerpiece of meal magic! After all, those oven baked treasures deserve worthy companions that’ll make your taste buds throw a standing ovation.
Side Dish Pairings
When your chicken legs in oven are sizzling away, filling your kitchen with that irresistible aroma of paprika and garlic powder, it’s time to think about what else belongs on that plate:
- Roasted potatoes tossed in the same seasoning blend (kitchen efficiency at its finest!)
- Steamed green beans finished with a sprinkle of parsley and a drizzle of olive oil
- Creamy mashed sweet potatoes that complement the savory notes of your onion powder rub
- Garlic butter rice that soaks up all those magnificent juices from your tender chicken
- A simple Caesar salad for a refreshing contrast to those crispy skin delights
Complementary Flavors
Your chicken legs in oven have made friends with rosemary and ground mustard, but the flavor party is just getting started:
| Chicken Seasoning | Perfect Flavor Complement | Why It Works |
| Paprika-forward rub | Lemon-herb quinoa | The citrus brightens the smoky spice |
| Garlic powder and herbs | Parmesan roasted broccoli | Nutty cheese echoes the savory notes |
| Rosemary and olive oil | Honey glazed carrots | Sweet balances the earthy herbs |
| Spicy rub with ground mustard | Cooling cucumber salad | Temperature contrast creates balance |
| Classic salt and pepper | Buttered corn on the cob | Simple flavors amplify each other |
Quick Accompaniments
When those chicken legs in oven need a speedier sidekick than they do cooking time, reach for these swift additions:
- Microwave-steamed vegetable medley tossed with the same olive oil and seasoning blend
- Pre-made coleslaw with a sprinkle of your chicken spice mix stirred in for flavor continuity
- Store-bought dinner rolls brushed with garlic-parsley butter
- Quick-cooking couscous fluffed with a fork and enhanced with a pinch of your poultry seasoning
- Bagged salad elevated with toasted nuts and a simple vinaigrette using your kitchen’s existing ingredients
Full Meal Planning
Transform your juicy chicken legs in oven from a simple protein to a complete meal experience:
- Mediterranean night: Chicken legs seasoned with rosemary and olive oil, alongside Greek salad, hummus, and warm pita
- Comfort food classic: Crispy skin chicken with mashed potatoes, gravy made from the drippings, and tender green beans
- Picnic style: Cold oven baked chicken legs with potato salad, coleslaw, and cornbread
- Healthy focus: Chicken legs with the skin removed after baking, quinoa, roasted vegetables, and a light yogurt sauce
- Family feast: A big baking sheet of chicken legs surrounded by roasted potatoes, carrots, and onions for a one-pan wonder
Conclusion
Congratulations! You’ve just journeyed through the wonderful world of chicken legs in oven – from selecting the perfect seasoning blend to creating complete meals that will impress family and friends alike. By now, you should feel equipped with all the knowledge needed to transform simple chicken legs into crispy, juicy, tender masterpieces.
Remember that cooking is as much about joy as it is about technique. Those moments when the oven door opens to reveal perfectly golden chicken legs, when the aroma of rosemary, paprika, and garlic powder fills your kitchen, or when your dinner guests ask for your secret recipe – these are the true rewards of your culinary efforts.
Whether you’re a weeknight warrior looking for an easy recipe or a weekend chef ready to experiment with complex flavor profiles, the humble chicken leg is your versatile canvas. That baking sheet in your kitchen isn’t just cookware – it’s your ticket to countless delicious meals.
Don’t be afraid to make this recipe your own. Adjust the seasoning blend to suit your taste, experiment with different herbs like parsley or ground mustard, or try a new side dish pairing. The best recipes evolve with each person who makes them.
We hope this guide has given you the confidence to tackle oven baked chicken legs with enthusiasm and creativity. From all of us to you – happy cooking, and even happier eating!
Now, what are you waiting for? It’s time to preheat that oven, grab your olive oil, and start creating your own crispy-skinned, juicy chicken masterpiece!
FQS
What’s the ideal baking time for chicken legs?
Chicken legs should be baked at 400°F (200°C) for 35–45 minutes until they reach an internal temperature of 165°F (75°C). Cooking time may vary based on the size of the legs and whether they are bone-in or boneless. A meat thermometer is essential to confirm that the meat is thoroughly cooked.
Should I bake chicken legs at 350°F or 400°F for the best results?
Baking at 400°F will give the chicken legs a crispier skin and reduce cooking time to around 35–45 minutes. At 350°F, they will take closer to 45–55 minutes and may have a softer texture. For better flavor and texture, 400°F is generally recommended.
How long should chicken legs be cooked at 180°C?
At 180°C (356°F), chicken legs should be baked for about 40–50 minutes. Ensure they reach an internal temperature of 165°F (75°C) before serving. Let them rest for a few minutes after baking for juicier meat.
At 400°F, how long does chicken take to cook in the oven?
Chicken legs typically take 35–45 minutes at 400°F, while chicken breasts may cook in 20–25 minutes depending on thickness. Whole chickens or larger cuts may require up to an hour. Checking the internal temperature is crucial to confirm the meat is cooked properly.

How to Cook Chicken Legs in Oven for Juicy, Flavorful Results
Materials
- 4 chicken legs thigh and drumstick attached
- 2 tbsp olive oil
- 1 tsp salt
- ½ tsp black pepper
- 1 tsp garlic powder
- 1 tsp onion powder
- 1 tsp smoked paprika
- ½ tsp dried thyme optional
- ½ tsp chili powder optional, for extra heat
Instructions
Preheat Oven: Set your oven to 400°F (200°C). Line a baking sheet with parchment paper or foil for easy cleanup.
Prepare Chicken: Pat the chicken legs dry with paper towels to ensure crispy skin.
Season: In a small bowl, mix olive oil with salt, pepper, garlic powder, onion powder, paprika, thyme, and chili powder. Rub the mixture evenly over the chicken legs.
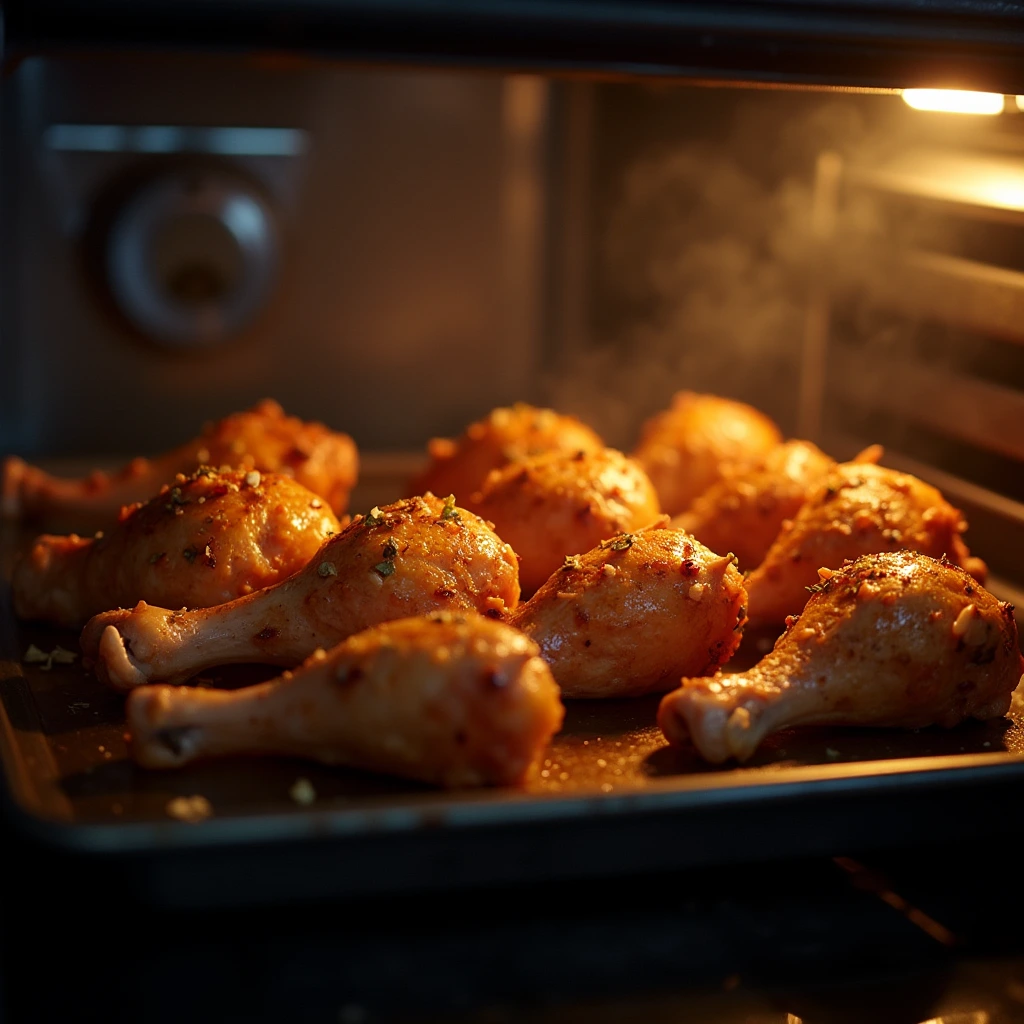
Bake: Place chicken legs skin-side up on the prepared baking sheet. Bake for 35-40 minutes, or until the internal temperature reaches 175°F (80°C).
Crisping (Optional): For extra crispy skin, broil on high for 2-3 minutes at the end.
Rest & Serve: Let the chicken rest for 5 minutes before serving. Enjoy with your favorite sides!
Notes
- Use a meat thermometer to ensure chicken is fully cooked.
- Add a squeeze of lemon juice for extra freshness before serving.
- Pairs well with roasted vegetables, mashed potatoes, or a fresh salad.